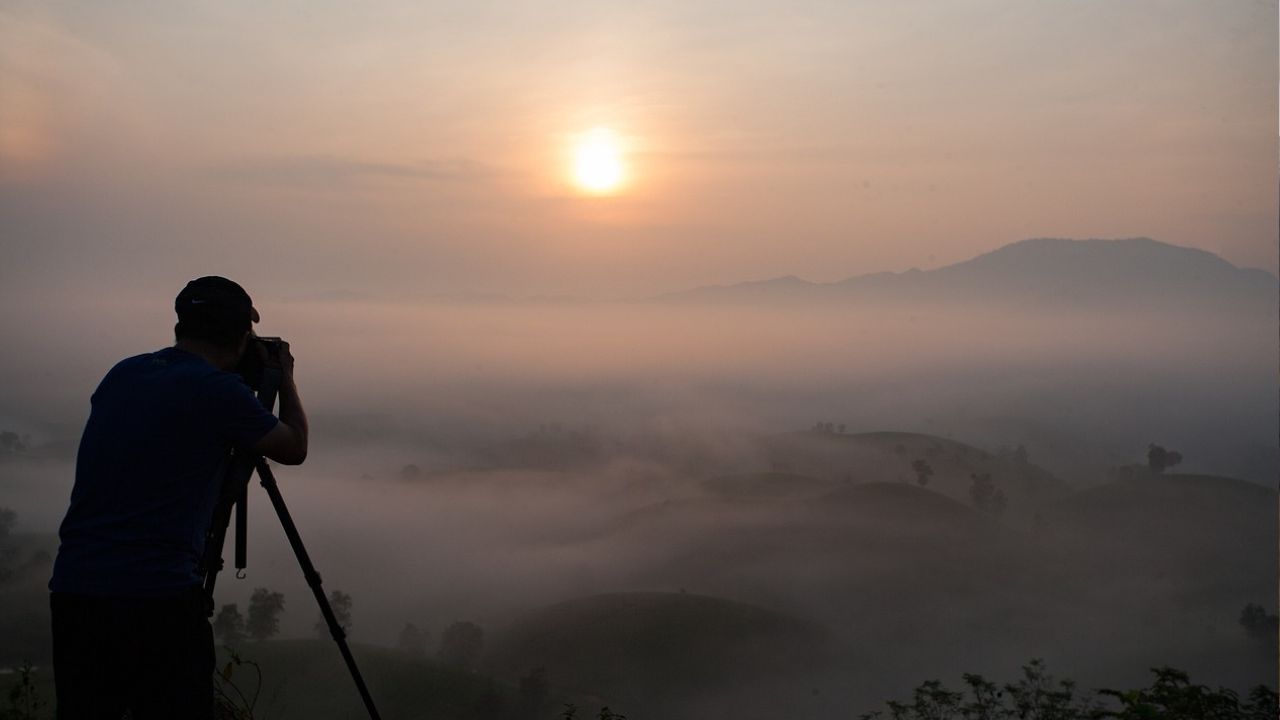
The mountains offer photography enthusiasts a lot to see within the most breathtaking scenery. With their towering peaks, dramatic landscapes, and ever-changing weather, capturing the perfect shot in the mountains can be a challenging but rewarding experience. In this guide, we’ll explore the tips and tricks you need now to help you improve your mountain photography skills, focusing on the stunning mountain ranges of the United States.
Table of Contents
Understanding Your Gear
Choose the Right Camera and Lenses
When venturing into mountain photography, having the right equipment is crucial. While high-end DSLRs offer excellent image quality and versatility that will make your work more organized, mirrorless cameras tend to be lightweight and more convenient for long-distance travel. Take a sturdy tripod to steady your camera in windy conditions, and pack a variety of lenses to capture both wide-angle landscapes and close-up details—everything you’ll need.
Master Your Settings
I think it’s essential to understand what your camera settings should be in order to capture stunning mountain photos. Now experiment with different aperture settings to control depth of field, adjust ISO to balance exposure in different lighting conditions, and use manual focus for precision when capturing intricate details.
Planning Your Shoot
Research Locations
Before photographing mountains in the United States, research the locations of the best spots to capture the iconic vistas so you can get the best frame. National parks like Yosemite, Yellowstone and Grand Teton offer breathtaking mountain views, while lesser-known areas like Colorado’s San Juan Mountains are hidden gems for adventure photographers.
Check Weather Conditions
Weather plays an important role in mountain photography, affecting lighting, visibility and your mood. Keep a close eye on the weather forecast and be prepared for sudden changes in conditions. Cloudy days can add drama to your photos, while clear skies are ideal for capturing vibrant sunrises and sunsets.
Timing is Everything
The best light for mountain photography often occurs during the golden hour—shortly after sunrise and before sunset—when the sun casts a warm, soft glow across the landscape. Plan your everything accordingly, and don’t be afraid to wake up early or stay out late to capture the magic moment of dawn and dusk.
Composition Techniques
Use Leading Lines
Include leading lines in your compositions to draw the viewer’s attention to the scene and create a sense of depth. Trails, rivers, and ridgelines are natural elements that can act as effective leading lines, directing the viewer’s eye to the focal point of your image.
Experiment with Foreground Interest
Incorporating interesting foreground elements into your photos will give your compositions a depth and add a bit of dimension. Look for rocks, wildflowers, or other natural beauty features to anchor your foreground and create a sense of scale against the majestic mountain backdrop.
Embrace Negative Space
Don’t feel obligated to fill every inch of your frame with mountains. Embracing negative space can create a sense of calm and detachment, allowing the viewer to appreciate the vastness of the landscape.
Technical Considerations
Bracket Your Exposures
Mountain scenes often feature a wide dynamic range with bright highlights and deep shadows. To ensure proper exposure across the entire image, consider bracketing your exposures and blending them together in post-processing. This technique allows you to capture detail in both the brightest highlights and darkest shadows in the scene.
Focus stacking for sharpness
Achieving tack-sharp focus throughout the image can be challenging in mountain photography, especially when capturing scenes with both near and distant elements. Consider using focus stacking techniques to combine multiple images taken at different focus points, resulting in a final image with exceptional sharpness from foreground to background that will enhance the look.
Post-Processing Tips
Enhance Colors Naturally
When editing your mountain photos, aim for natural-looking colors that accurately represent the beauty of the landscape. Avoid excessive saturation and contrast adjustments, as these can make your image look artificial. Instead, focus more on subtle enhancements to bring out the true essence of the scene.
Fine-Tune Your Exposure
Use post-processing software to adjust exposure, contrast, and white balance to ensure optimal image quality. Pay attention to the histogram to avoid clipping highlights or shadows, and experiment with selective adjustments to enhance specific areas of your image without affecting the overall balance.
Safety Tips
Be Prepared for the Elements
Mountain environments can be harsh and unpredictable, so being prepared for changing weather is essential. Pack adequate clothing, food and water and carry essential safety gear such as a first aid kit, a map and a compass or GPS device. When traveling for photography, always let someone know your itinerary before you go so you can plan accordingly.
Respect Wildlife and Leave No Trace
When photographing mountains, observe and respect the natural environment and wildlife. Again, keep a safe distance from certain animals, avoid disturbing their habitat, and follow No Trace policies to minimize your impact on the landscape. Leave the mountains as you found them, so that future generations can enjoy their beauty.
Capturing the perfect shot in the mountains required a combination of technical skill, creative vision and a deep appreciation for the natural world. By following these tips and tricks, you can elevate your mountain photography to new heights and create images that will inspire awe and wonder. So grab your camera, lace up your hiking boots, and embark on an unforgettable journey through the majestic mountains of the United States. Happy shooting!

